

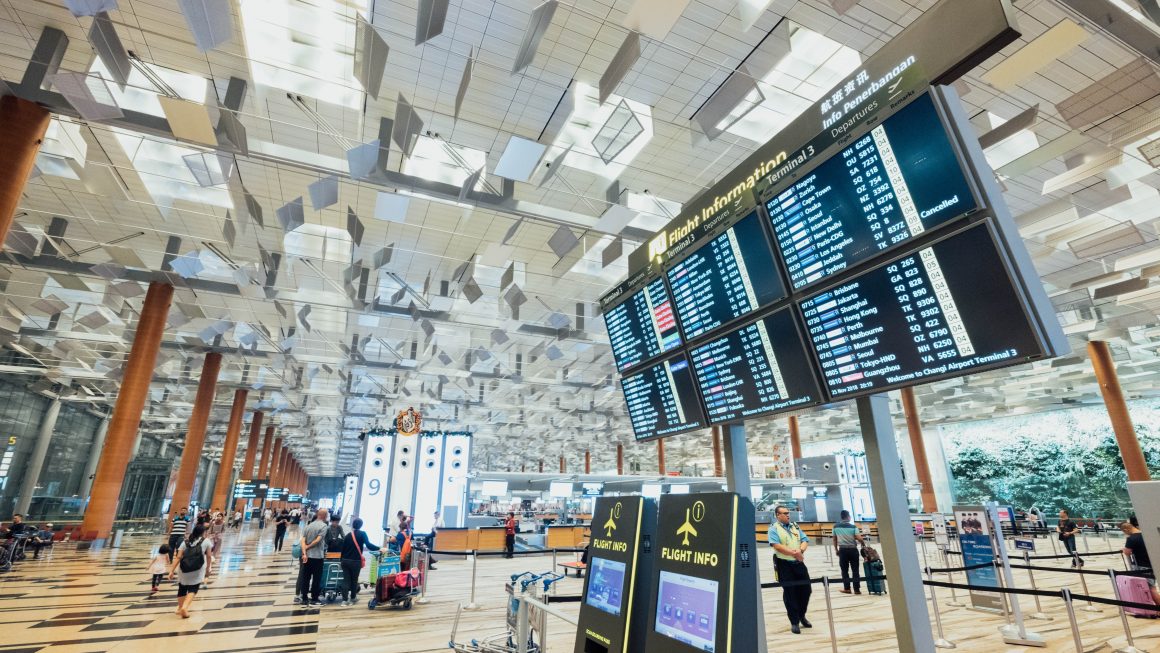
Oh, the dreadful airport security. Is there any way to make the process less painful? Actually, yes there is.
Navigating through TSA can be quite intimidating for first-time flyers, and frequent travelers alike. The number one key to a smooth entry at the security checkpoint is being prepared.
For this reason, I’ve compiled a list of tips on ways to prepare yourself for airport security that will hopefully streamline the process and get you through TSA faster. No more shuffling through your bag. No more waiting for directions, and feeling rushed by the long line behind you. Just easy sailing.
1. Arrive 2 Hrs Before Your Flight Boards
In addition to security screening, there are several variables from traffic, to parking and shuttle, to checking bags, and finding your way through the airport, which can affect the time it takes for you to reach your gate. Two hours is generally a good basis to allow yourself plenty of room for error.
However, certain busy airports may require more time. On the other hand, smaller regional airports may require less time. The TSA has a feature on their app MyTSA, which allows you to look up how busy they are expected to be on any given day at any airport based on historical data.
With all things considered, I always recommend arriving at least two hours before boarding, but preferably a slight bit more.

2. Have Your ID and Boarding Pass Ready
After waiting through the long line, the first step to get through TSA will be an ID and boarding pass check. Keep both in a convenient spot, and do not lose them.
Travel and having to worry about so many different items can be stressful, I know. Make sure you know exactly where you put your ID and boarding pass so that you are not searching the deepest depths of your bag and holding the line up when you finally reach the podium.
3. No Water! Yes Bottles.
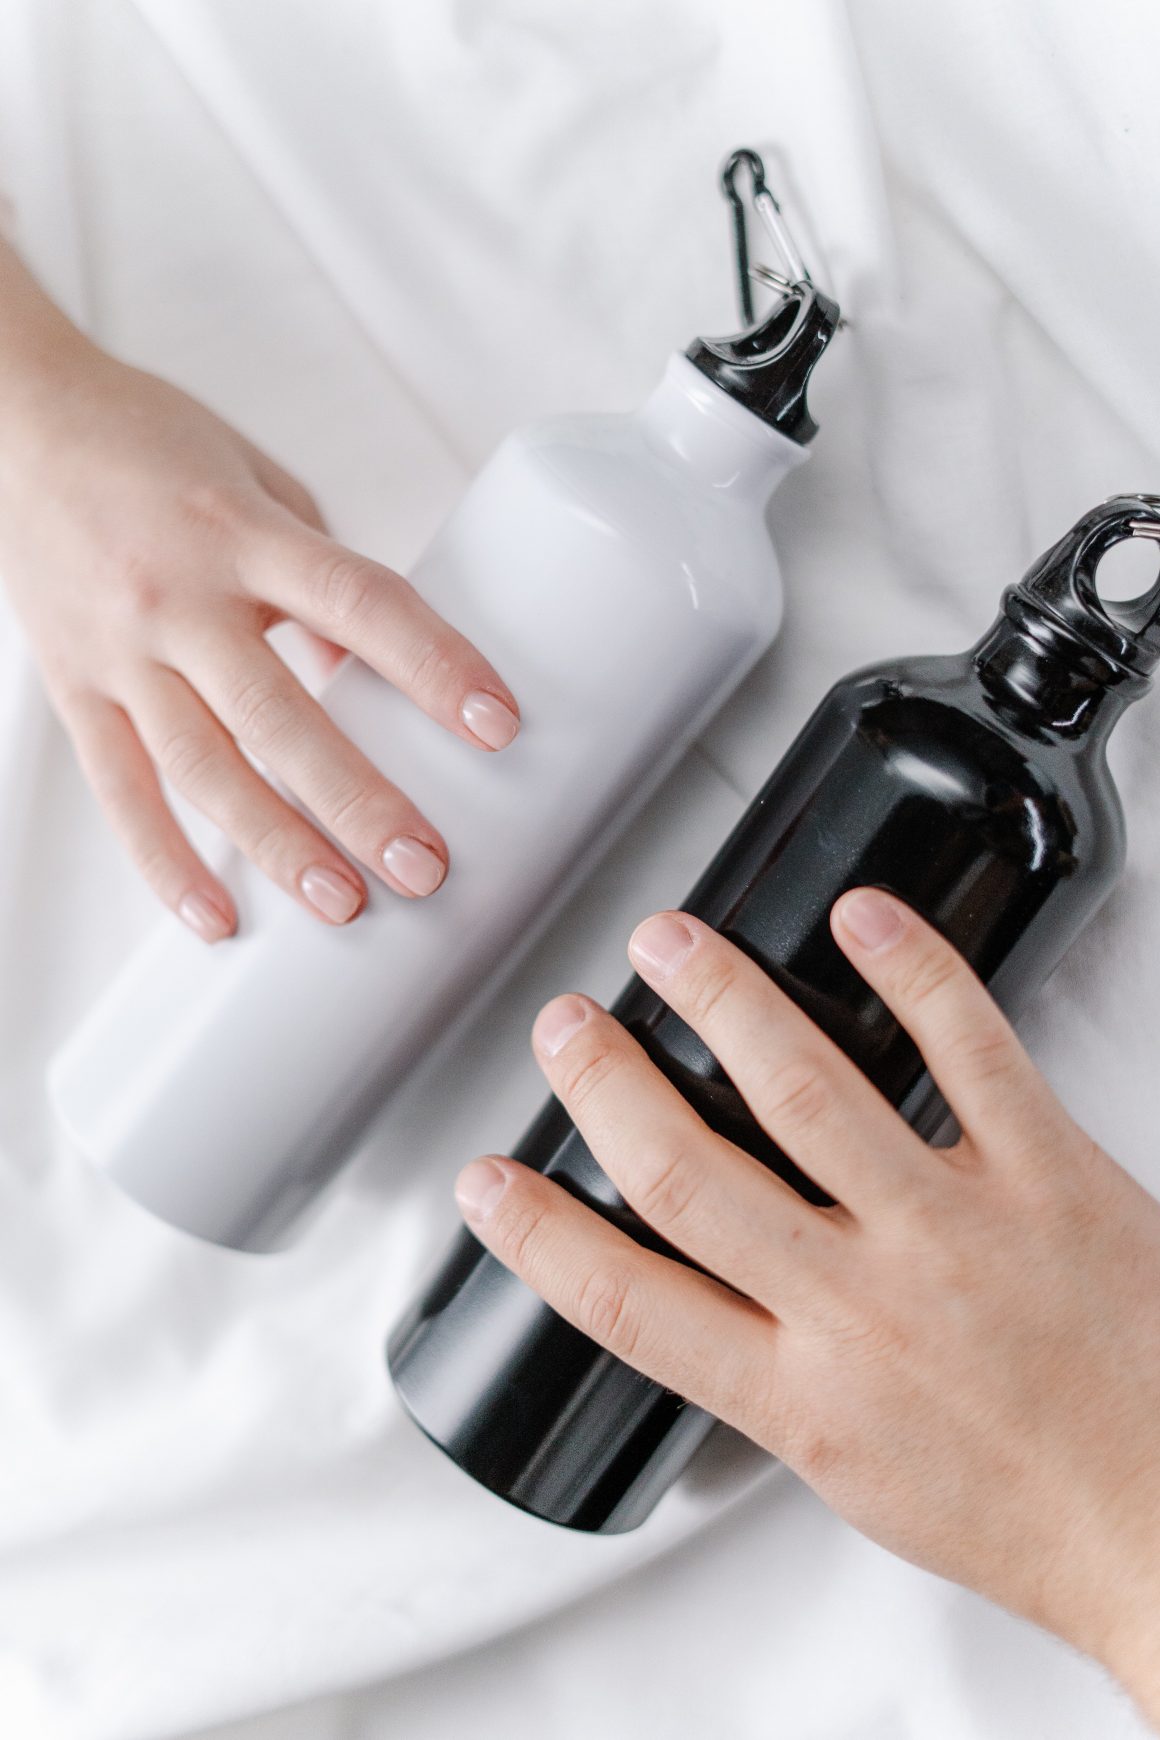
This is the ultimate newb mistake that you will not make since you are reading this post!
Liquids are not allowed, except for in the 3-1-1 rule (we’ll discuss this more in the next topic). Pour out any drinks you have before getting in line for TSA.
Better yet, don’t fill up your water bottles at all until after you’re cleared through security. Imagine waiting 30 minutes in line, and then having to be screened Again because you forgot you packed a full water bottle. Don’t do it.
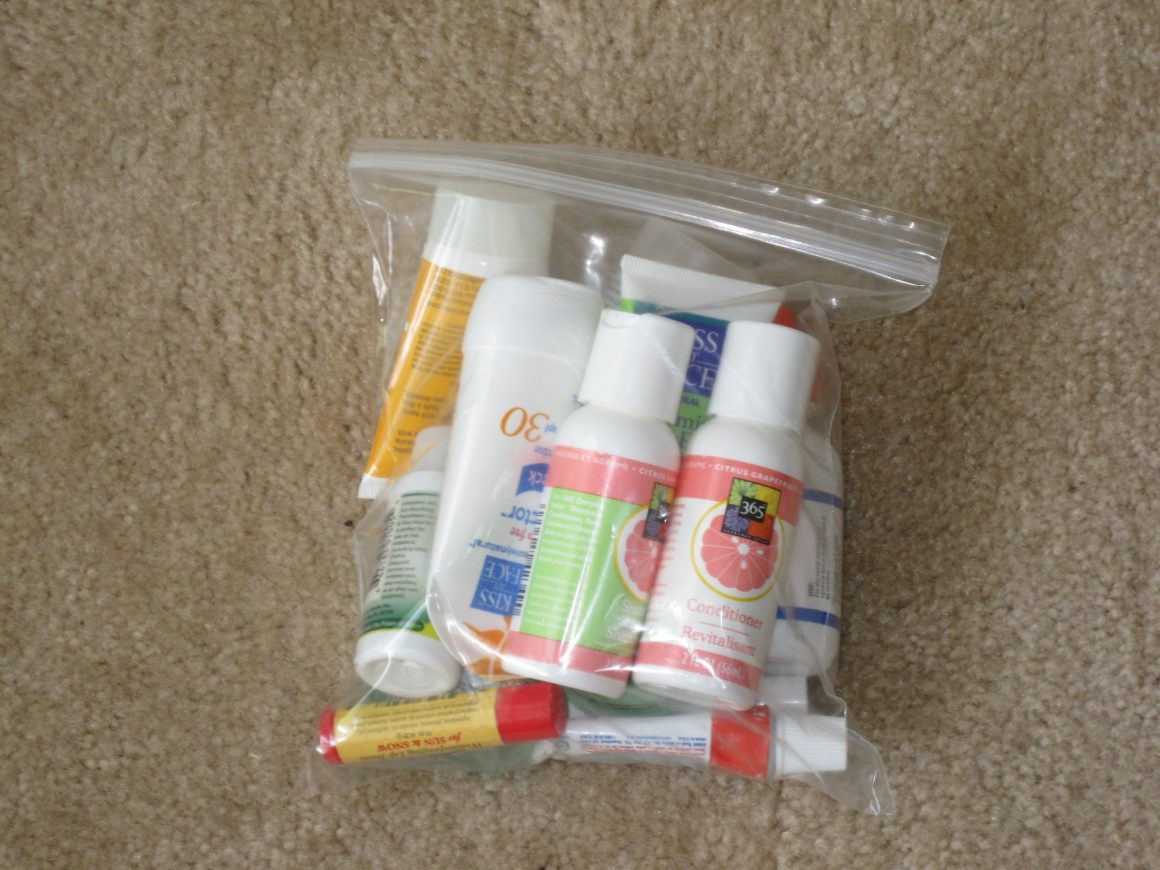
4. Make Liquids Easily Accessible
If you checked your bag, there’s a chance you will not have to worry about liquids. However, if you packed carry-on, and therefore packed toothpaste, shampoo, etc, you’ll want to make sure you understand the 3-1-1 rule.
The 3-1-1 rule states that you may bring liquids in 3.4 ounce containers as long as it fits in a single quart-sized plastic bag, with only one bag per person. If not, you will have to throw out anything that doesn’t comply.
In some airports, I have been asked to take my liquids out for easier screening. This may depend on the airport and how busy it is, but just in case they do ask me to, I like to keep my liquids easily accessible in the front pocket of my backpack.
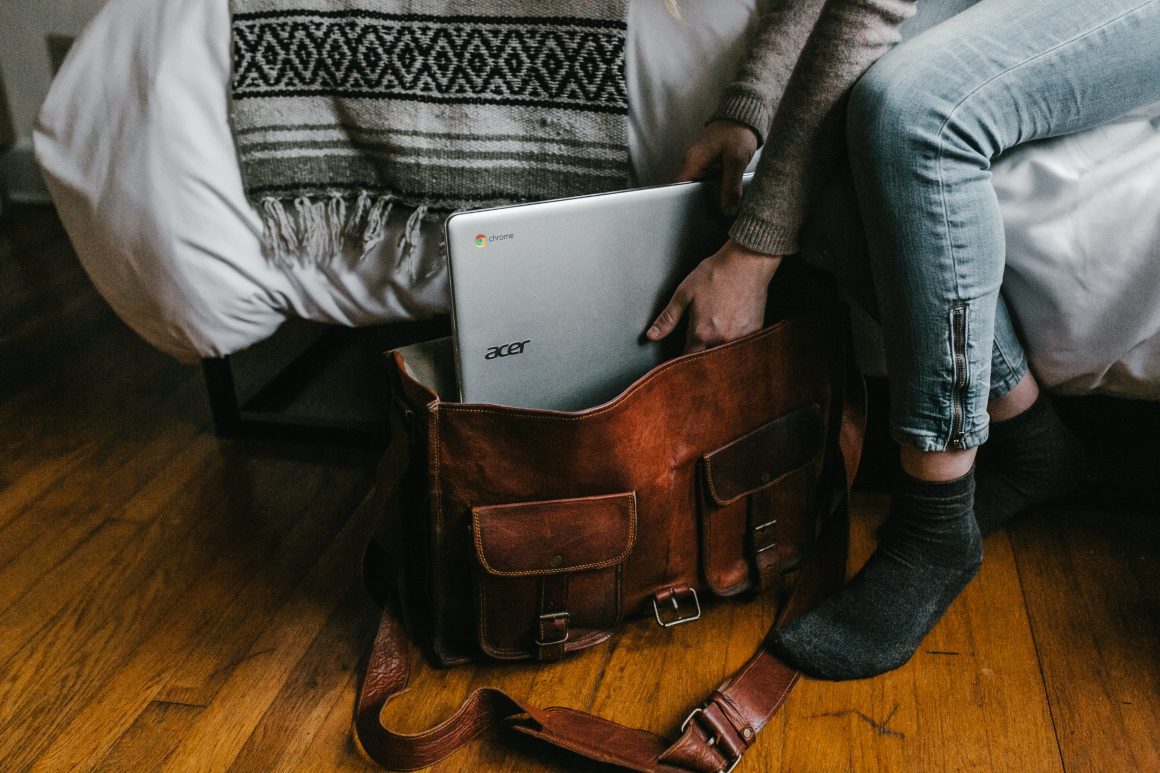
5. More Accessibility
Other things that are commonly asked to be taken out and placed separately through security include large electronics, and food. Do keep these items easily accessible as well.
- Large Electronics – TSA agents will usually state exactly what is required to be taken out. Sometimes they request laptops only. Sometimes they request any electronics bigger than a phone. Again, it usually depends on the airport and how busy they are.
- Food – I frequently bring my own food when traveling, since I hate how unhealthy eating at the airport can be. I’ve even brought whole subs, and lunchboxes. It is most common that TSA asks me to place my food separately for screening, so be aware if you plan on bringing snacks.

6. Dress Accordingly
Besides comfort, there are a few things to consider when getting dressed for air travel.
- Slip-on Shoes – Since shoes must be removed for screening purposes, the fastest way through is to wear slip-on shoes while traveling. I’d recommend not wearing sandals, since you’ll be walking around barefoot in some high-traffic, bare feet areas, but I’m just a germaphobe.
- No Belt or Watch – Both a belt and a watch will set off the metal detectors during security screening. Don’t forget to take them off, or even better, don’t wear them at all.
- Remove Jacket – This is more of a reminder. If you are wearing a jacket, you will have to remove it for the screening process.
7. Know the Rules
Does egg salad count as a "liquid" ???? @AskTSA #helpmeplease
— ◌ต꒰。•̤༝•̤。꒱ต◌ (@hematomaa) October 17, 2018
8. Pay Attention
9. TSA PreCheck
![]()
If none of these tips are cutting it for you, you can always opt for the coveted TSA PreCheck, which will allow you to go through security without having to remove anything from your person or luggage. It costs $85 for a 5-year membership, and will require an application and background check. So you will definitely need to plan ahead if you plan on using it. There are also other traveler programs such as Global Entry (which includes TSA PreCheck), and CLEAR.
As an Amazon Associate I earn from qualifying purchases. Click here to read my full affiliate disclaimer.